
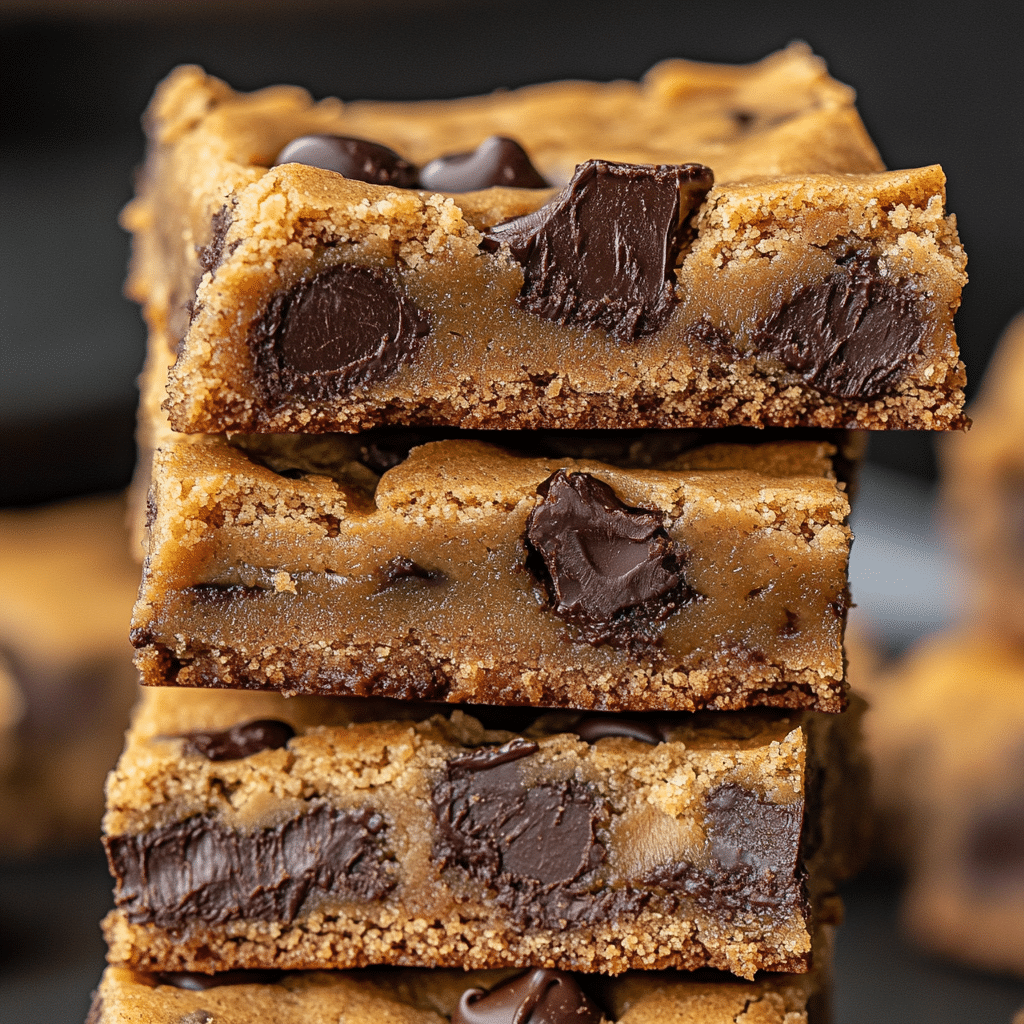
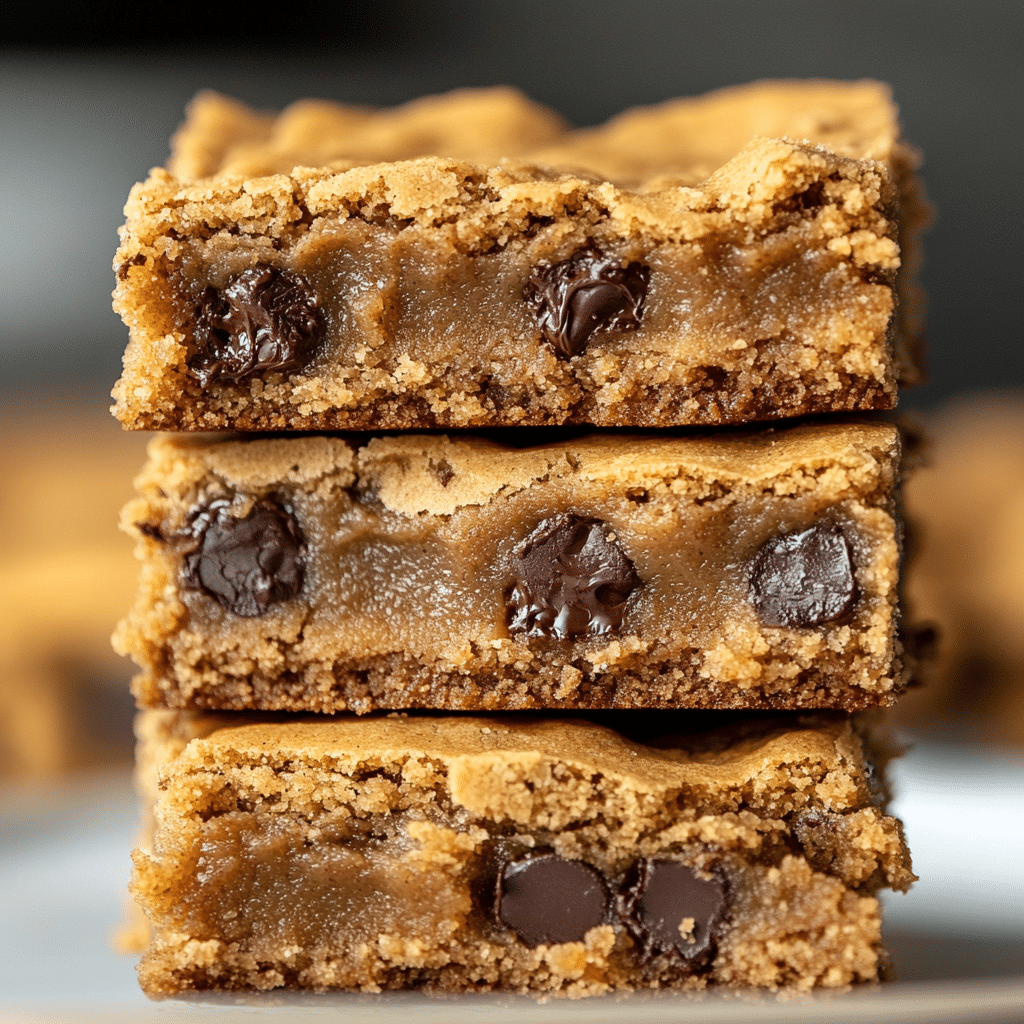
Peanut Butter Chocolate Chip Cookie Bars are the ultimate dessert for peanut butter lovers and cookie fans alike. These thick, soft-baked bars combine the richness of peanut butter with gooey chocolate chips in every bite. With no need to chill the dough or roll cookies individually, they’re an easy and delicious treat for any occasion.
Why You’ll Love This Recipe
This recipe takes all the goodness of a peanut butter cookie and a chocolate chip cookie and packs it into thick, chewy bars. It’s a one-bowl, no-fuss dessert that bakes up beautifully and feeds a crowd. Perfect for bake sales, potlucks, or a cozy night in, these bars are satisfying, flavorful, and super easy to make.
ingredients

(Tip: You’ll find the full list of ingredients and measurements in the recipe card below.)
- Unsalted butter
- Creamy peanut butter
- Granulated sugar
- Brown sugar
- Eggs
- Vanilla extract
- All-purpose flour
- Baking soda
- Salt
- Chocolate chips
directions
- Preheat your oven to 350°F (177°C) and grease or line a 9×13-inch baking pan with parchment paper.
- In a large bowl, cream together the melted butter, peanut butter, granulated sugar, and brown sugar until smooth.
- Add eggs and vanilla, mixing until fully combined.
- Stir in the flour, baking soda, and salt until just incorporated.
- Fold in the chocolate chips.
- Spread the dough evenly into the prepared pan.
- Bake for 30–35 minutes, or until the top is golden and a toothpick inserted into the center comes out mostly clean.
- Allow to cool in the pan before cutting into bars.
Servings and timing
Serves: 24 bars
Prep time: 10 minutes
Cook time: 30–35 minutes
Total time: 45 minutes
Variations
- Use crunchy peanut butter for added texture.
- Add chopped peanuts or pretzels for a salty crunch.
- Mix in white chocolate or peanut butter chips for a twist.
- Swirl extra peanut butter on top before baking for more flavor and visual appeal.
- Use gluten-free flour if needed for a GF option.
storage/reheating
Store bars in an airtight container at room temperature for up to 5 days.
To keep them longer, refrigerate for up to 10 days or freeze for up to 3 months.
To reheat, microwave a bar for about 10–15 seconds for that fresh-from-the-oven softness.
FAQs
Can I use natural peanut butter?
Yes, but the texture may be slightly different. Make sure it’s well-stirred and not too oily or dry.
Do I need to chill the dough?
Nope! This recipe is designed to go straight into the oven without chilling.
Can I use a different pan size?
You can use a smaller pan for thicker bars—just adjust the baking time accordingly.
How do I know when they’re done baking?
The top should be golden, and a toothpick inserted should come out with a few moist crumbs, not raw batter.
Can I make these gluten-free?
Yes, simply substitute with a 1:1 gluten-free baking flour blend.
Can I make this recipe dairy-free?
Use dairy-free butter and chocolate chips to make it dairy-free.
Can I double the recipe?
Yes, but you’ll need a larger pan or bake it in batches for even cooking.
What kind of chocolate chips work best?
Semi-sweet chocolate chips are perfect, but dark or milk chocolate chips also work well.
Can I add oats to the recipe?
Sure! Add up to ½ cup of rolled oats for a chewier, heartier texture.
Do these freeze well?
Yes, they freeze beautifully. Wrap them individually or store in a freezer-safe bag for up to 3 months.
Conclusion
Peanut Butter Chocolate Chip Cookie Bars are the perfect marriage of two classic flavors in one easy-to-make dessert. Whether you’re baking for a group or just treating yourself, these bars are sure to hit the spot. Rich, chewy, and packed with chocolatey goodness, they’re a treat everyone will love.

Peanut Butter Chocolate Chip Cookie Bars
- Prep Time: 15 minutes
- Cook Time: 30 minutes
- Total Time: 45 minutes
- Yield: 16 bars
- Category: Dessert
- Method: Baking
- Cuisine: American
- Diet: Vegetarian
Description
Indulge in these soft and chewy Peanut Butter Chocolate Chip Cookie Bars—a delightful combination of creamy peanut butter and rich chocolate chips, baked into convenient bars perfect for sharing or enjoying as a personal treat.
Ingredients
-
1/2 cup unsalted butter, melted and slightly cooled
-
1/2 cup creamy peanut butter
-
1 cup light brown sugar, packed
-
2 large eggs, at room temperature
-
1 teaspoon vanilla extract
-
1 1/2 cups all-purpose flour
-
1/2 teaspoon baking soda
-
1/4 teaspoon salt
-
1 1/2 cups semi-sweet chocolate chips, plus extra for topping if desired
Instructions
-
Preheat the Oven:
-
Set your oven to 350°F (175°C). Grease a 9×9-inch baking pan and, for easier removal, line it with parchment paper.
-
-
Mix Wet Ingredients:
-
In a large mixing bowl, whisk together the melted butter, peanut butter, and light brown sugar until the mixture is smooth.
-
Add the eggs and vanilla extract, continuing to whisk until fully combined.
-
-
Combine Dry Ingredients:
-
In a separate bowl, whisk together the all-purpose flour, baking soda, and salt.
-
-
Form the Dough:
-
Gradually add the dry ingredients to the wet mixture, stirring until just combined. Avoid overmixing to maintain a tender texture.
-
Fold in the semi-sweet chocolate chips until they are evenly distributed throughout the dough.
-
-
Bake the Bars:
-
Transfer the dough into the prepared baking pan, spreading it evenly.
-
If desired, sprinkle additional chocolate chips on top for extra decadence.
-
Bake for 28-35 minutes, or until a toothpick inserted into the center comes out with a few moist crumbs.
-
-
-
Cool and Serve:
-
Allow the bars to cool completely in the pan before slicing them into squares. This ensures clean cuts and helps the bars set properly.
-
Notes
-
Peanut Butter Choice: Opt for traditional creamy peanut butter like Jif or Skippy for best results. Natural peanut butters may alter the texture due to their oil separation.
-
Chocolate Variations: Feel free to use milk chocolate, dark chocolate, or even peanut butter chips to customize the flavor to your liking.
-
Storage: Store the bars in an airtight container at room temperature for up to 5 days. For longer storage, they can be frozen for up to 2 months.
Your email address will not be published. Required fields are marked *