
Homemade caramels are soft, buttery, and melt-in-your-mouth delicious. Made with simple ingredients, these sweet treats are perfect for gifting, snacking, or adding to your favorite desserts. With a rich, caramelized flavor and smooth texture, they’re sure to be a family favorite.
Why You’ll Love This Recipe
- Made with simple pantry ingredients
- Rich, buttery, and perfectly chewy
- Great for gifting during holidays and special occasions
- Easy to customize with different flavors and mix-ins
- No special equipment required, just a saucepan and a thermometer
Ingredients

(Tip: You’ll find the full list of ingredients and measurements in the recipe card below.)
- Granulated sugar
- Brown sugar
- Unsalted butter
- Heavy cream
- Corn syrup
- Vanilla extract
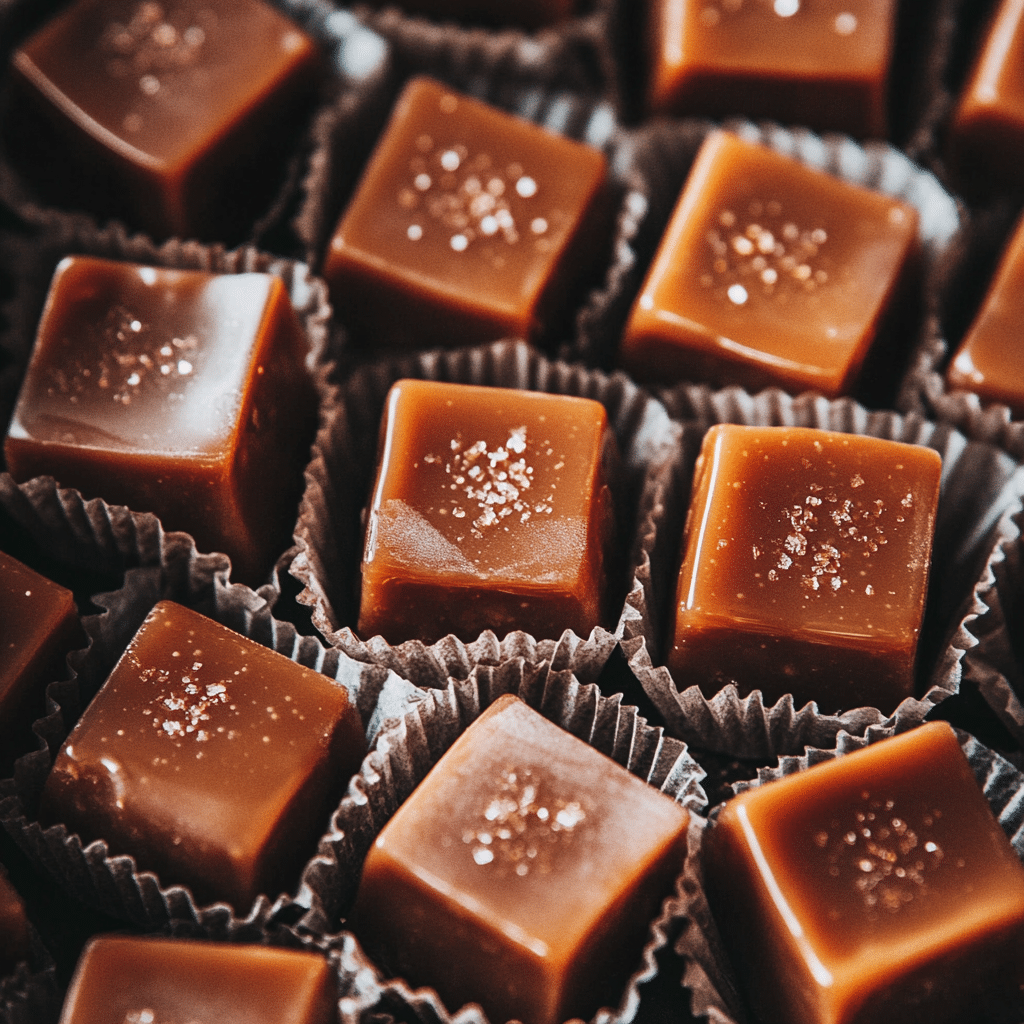
- Sea salt (optional, for salted caramels)
Directions
- Line an 8×8-inch baking dish with parchment paper and lightly grease it.
- In a heavy-bottomed saucepan over medium heat, combine sugar, brown sugar, butter, heavy cream, and corn syrup.
- Stir constantly until the mixture reaches 240°F (soft ball stage) on a candy thermometer.
- Remove from heat and stir in vanilla extract and sea salt if using.
- Pour the mixture into the prepared baking dish and let it cool completely.
- Once set, cut into small squares and wrap each piece in wax paper.
Servings and Timing
- Servings: 30-40 caramels
- Prep Time: 10 minutes
- Cook Time: 15 minutes
- Cooling Time: 2 hours
- Total Time: 2 hours 25 minutes
Variations
- Salted Caramels: Sprinkle extra sea salt on top before cooling.
- Chocolate Caramels: Stir in melted chocolate for a rich twist.
- Nutty Caramels: Mix in chopped pecans or almonds before pouring into the dish.
- Spiced Caramels: Add a pinch of cinnamon or nutmeg for extra warmth.
Storage/Reheating
- Storage: Store caramels in an airtight container at room temperature for up to 2 weeks.
- Refrigeration: For longer shelf life, keep them in the fridge for up to a month.
- Freezing: Freeze wrapped caramels in a sealed bag for up to 3 months.
FAQs

Can I make caramels without a candy thermometer?
While a thermometer is recommended, you can use the cold water test by dropping a bit of caramel into ice water to check for the soft ball stage.
Why are my caramels too hard or too soft?
Caramel texture depends on the final temperature. For softer caramels, cook to 235°F; for firmer caramels, go up to 245°F.
Can I use salted butter instead of unsalted?
Yes, but reduce added salt if using salted butter.
How do I prevent grainy caramel?
Stir constantly and avoid scraping the sides of the pan once sugar has dissolved.
Can I add different flavors?
Yes! Try adding extracts like almond, maple, or peppermint for unique flavors.
How do I cut caramels without sticking?
Use a sharp, greased knife or kitchen scissors for clean cuts.
Can I double the recipe?
Yes, but use a larger pan and watch the cooking time carefully.
Do I need to wrap each caramel?
Wrapping helps prevent sticking and keeps them fresh longer.
Can I use honey instead of corn syrup?
Yes, but the texture and flavor may change slightly.
What should I do if my caramel burns?
Unfortunately, burned caramel cannot be saved. Always cook on medium heat and watch carefully.
Conclusion
Homemade caramels are a delightful treat that’s easy to make and even easier to enjoy. Whether you love them plain, salted, or with a creative twist, these buttery, chewy candies are perfect for any occasion. Try this recipe today and savor the sweet satisfaction!
Print
Homemade Caramels
- Prep Time: 5 minutes
- Cook Time: 20 minutes
- Total Time: 2 hours
- Yield: About 60 caramels 1x
- Category: Dessert
- Method: Stovetop
- Cuisine: American
- Diet: Vegetarian
Description
These buttery, chewy caramels are made with just a few simple ingredients. Perfect for holiday gifts, desserts, or an anytime sweet treat
Ingredients
- 1 cup unsalted butter (2 sticks)
- 2 1/4 cups brown sugar, packed
- 1 cup light corn syrup
- 1 (14 oz) can sweetened condensed milk
- 1/4 tsp salt
- 1 1/2 tsp vanilla extract
Instructions
- Prepare the Pan:
- Line an 8×8-inch or 9×9-inch baking dish with parchment paper and lightly grease with butter or nonstick spray.
- Melt the Butter & Sugar:
- In a heavy-bottomed saucepan, melt butter over medium heat. Stir in brown sugar, corn syrup, and salt.
- Bring to a gentle simmer, stirring constantly.
- Cook the Caramel:
- Slowly add the sweetened condensed milk, stirring constantly to prevent burning.
- Continue cooking over medium-low heat, stirring frequently, until the mixture reaches 240°F (soft-ball stage) on a candy thermometer. (This takes 15-20 minutes.)
- Add Vanilla & Pour:
- Remove from heat and stir in vanilla extract.
- Carefully pour the caramel into the prepared baking dish. Let it cool at room temperature for 2-3 hours or until fully set.
- Cut & Wrap:
- Once set, lift the caramel from the pan using the parchment paper.
- Use a buttered knife to cut into 1-inch squares or rectangles.
- Wrap each caramel in wax paper and twist the ends.
Notes
- For Salted Caramels: Sprinkle flaky sea salt on top before the caramel sets.
- No Candy Thermometer? Drop a small spoonful of hot caramel into ice water—if it forms a soft, pliable ball, it’s ready!
- Store in an airtight container at room temperature for up to 2 weeks, or refrigerate for longer storage.
Your email address will not be published. Required fields are marked *