
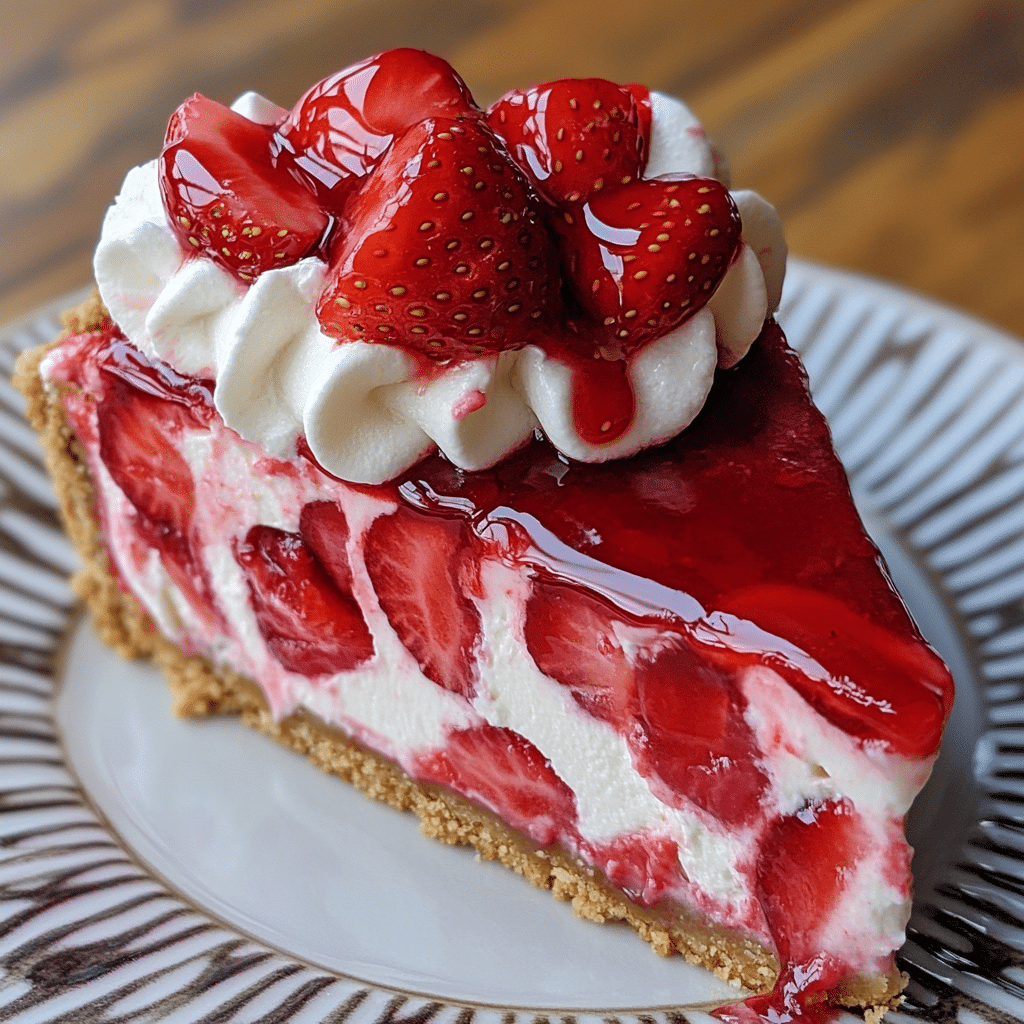
Strawberry Cheesecake Dump Cake is a rich and creamy dessert that combines the flavors of sweet strawberries, tangy cheesecake, and a buttery cake topping. This easy dump-and-bake recipe requires minimal effort—just layer the ingredients and let the oven do the work! It’s the perfect dessert for gatherings, potlucks, or when you need a quick and delicious treat.
Why You’ll Love This Recipe
- Super easy to make – No mixing or complicated steps required.
- Rich and creamy – A perfect balance of fruity strawberry, creamy cheesecake, and buttery cake.
- Great for crowds – A fantastic dessert for potlucks, parties, and holidays.
- Only a few ingredients – Uses pantry staples and minimal prep time.
- Customizable – Add nuts, chocolate, or different fruit flavors.
Ingredients

(Tip: You’ll find the full list of ingredients and measurements in the recipe card below.)
- Strawberry pie filling
- Cream cheese (softened)
- Sweetened condensed milk
- Vanilla extract
- Yellow or white cake mix
- Unsalted butter (melted)
- Graham cracker crumbs (optional, for extra crunch)
Directions
- Preheat the oven to 350°F (175°C) and lightly grease a 9×13-inch baking dish.
- Layer the strawberries: Spread the strawberry pie filling evenly across the bottom of the dish.
- Make the cheesecake layer: In a bowl, mix the softened cream cheese, sweetened condensed milk, and vanilla extract until smooth. Spoon dollops over the strawberries and gently spread.
- Add the cake mix: Sprinkle the dry cake mix evenly over the top—do not mix.
- Drizzle with butter: Pour the melted butter evenly over the cake mix. (Tip: Make sure to cover as much as possible for an even golden crust.)
- Bake: Bake for 40-45 minutes, or until the top is golden and bubbly.
- Cool and serve: Let cool slightly before serving. Serve warm with whipped cream or vanilla ice cream.
Servings and Timing
- Servings: 12-15
- Prep Time: 10 minutes
- Bake Time: 40-45 minutes
- Total Time: 50-55 minutes
Variations
- Use fresh strawberries: Swap pie filling for fresh strawberries mixed with sugar and cornstarch.
- Chocolate twist: Use chocolate cake mix instead of yellow or white.
- Crunchy topping: Sprinkle crushed graham crackers or chopped nuts before baking.
- Lemon cheesecake version: Add lemon zest to the cheesecake mixture for a citrusy flavor.
- Dairy-free option: Use dairy-free cream cheese and butter substitutes.
Storage/Reheating
- Refrigeration: Store leftovers in an airtight container in the fridge for up to 4 days.
- Freezing: Wrap tightly and freeze for up to 2 months. Thaw overnight in the fridge before reheating.
- Reheating: Warm in the oven at 300°F for 10-15 minutes or microwave individual servings for 30 seconds.
FAQs
Can I use fresh strawberries instead of pie filling?
Yes! Toss fresh strawberries with sugar and cornstarch to create a thick filling.
Does the cake mix need to be stirred in?
No, just sprinkle it over the top and let the butter create a crispy topping.
Can I make this ahead of time?
Yes! Bake it in advance and refrigerate, then warm before serving.
What’s the best way to serve this cake?
Serve warm with vanilla ice cream or whipped cream for the best experience.
Can I use a different cake mix?
Absolutely! White, yellow, vanilla, or even strawberry cake mix works well.
Why is my dump cake dry?
Make sure to spread the butter evenly to moisten the entire cake mix layer.
Can I add nuts for texture?
Yes! Chopped pecans or almonds add a great crunch.
How do I make this gluten-free?
Use a gluten-free cake mix for a gluten-free version.
Can I use whipped cream cheese instead?
Regular block cream cheese works best, but whipped can be used for a lighter texture.
Can I use other pie fillings?
Yes! Cherry, blueberry, or peach pie filling all work as great alternatives.
Conclusion
Strawberry Cheesecake Dump Cake is the easiest way to enjoy a decadent, fruity dessert with minimal effort. With its rich layers of strawberry, creamy cheesecake, and buttery cake, this treat is sure to be a hit at any gathering. Try it today for a hassle-free, crowd-pleasing dessert!
Print
Strawberry Cheesecake Dump Cake
- Prep Time: 10 minutes
- Cook Time: 35-40 minutes
- Total Time: 50 minutes
- Yield: 8–10 servings 1x
- Category: Dessert
- Method: Baking
- Cuisine: American
- Diet: Vegetarian
Description
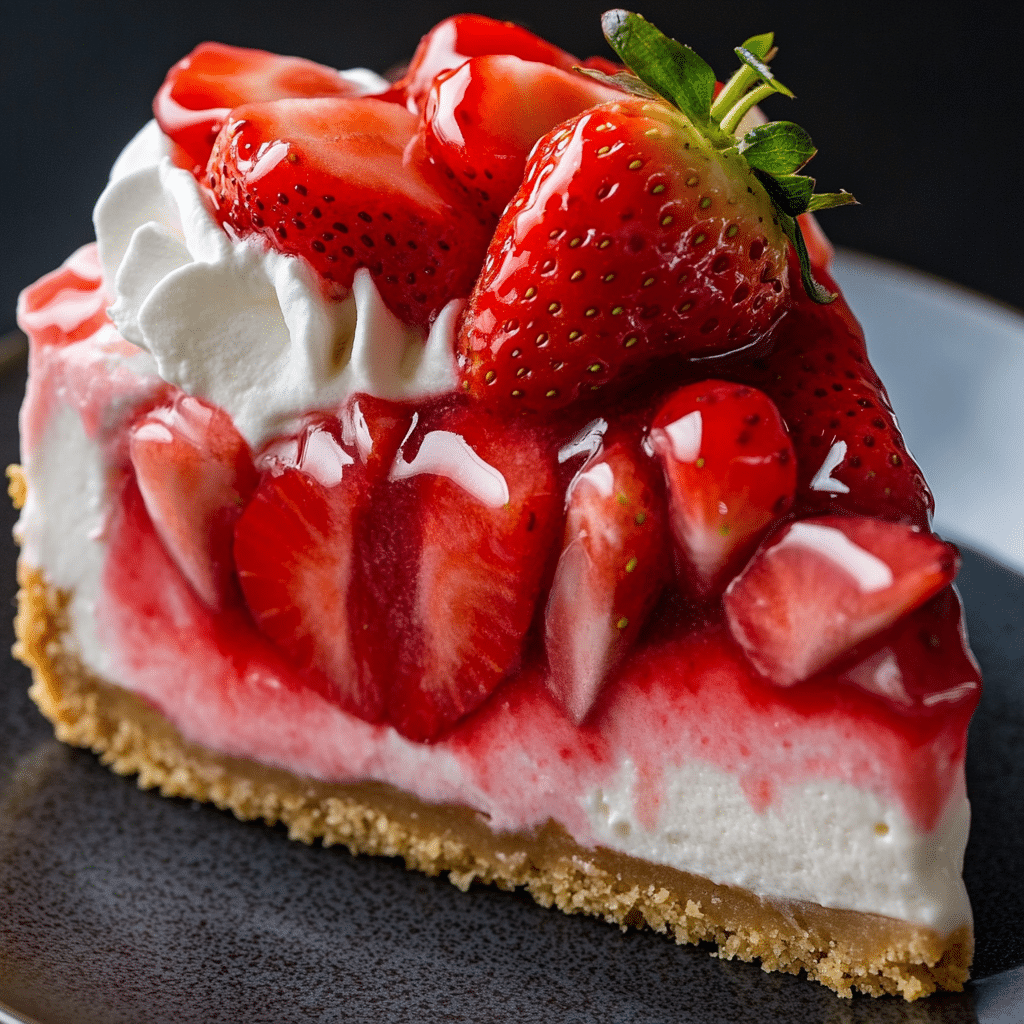
This Strawberry Cheesecake Dump Cake is an effortless dessert with layers of juicy strawberries, rich cheesecake filling, and a golden buttery cake topping. With just a few simple ingredients, you can whip up this sweet treat in no time—perfect for potlucks, parties, or an easy weeknight dessert!
Ingredients
1 (21 oz) can strawberry pie filling
8 oz cream cheese, softened
1/4 cup granulated sugar
1 tsp vanilla extract
1 (15.25 oz) box yellow or white cake mix
1/2 cup unsalted butter, melted
1/2 cup chopped fresh strawberries (optional, for extra fruitiness)
1 cup crushed graham crackers (optional, for a crunchy topping)
Whipped cream or vanilla ice cream, for serving
Instructions
- Preheat oven to 350°F (175°C) and lightly grease a 9×13-inch baking dish.
- Spread the strawberry pie filling evenly in the bottom of the baking dish. Sprinkle the fresh strawberries on top (if using).
- Make the cheesecake layer: In a small bowl, mix the softened cream cheese, granulated sugar, and vanilla extract until smooth. Drop spoonfuls over the strawberry layer.
- Add the cake mix: Evenly sprinkle the dry cake mix over the cheesecake and strawberry layers.
- Drizzle melted butter evenly over the top, ensuring most of the cake mix is moistened.
- Optional: Sprinkle crushed graham crackers on top for extra crunch.
- Bake for 35-40 minutes, or until the top is golden brown and bubbly.
- Cool slightly, then serve warm with whipped cream or vanilla ice cream.
Notes
Cake Mix Options: Yellow, white, or even strawberry cake mix work well.
Cheesecake Layer Tip: For extra creaminess, add an extra 4 oz of cream cheese.
Make It Extra Fruity: Add sliced fresh strawberries between the layers for a fresh fruit boost.
Storage: Store leftovers in an airtight container in the fridge for up to 3 days.
It looks like there is a graham cracker crust but the directions do not say anything about it